
Mark, a homeowner in Oakland City, Indiana, didn't want a partial refresh. He wanted every painted surface on his home's exterior done: siding, gutters, fascia, soffit, downspouts, brick, garage doors, man doors, the front door and sidelights, and every inch of window trim. Everything except the roof. This wasn't a coat of paint over the most visible surfaces and a call that the job was done. It was a full reset.
What made the project more interesting than scope alone was the approach behind it. The plan called for a layered, three-color design instead of a single flat color across everything: a satin body color for the siding, gutters, fascia, soffit, and downspouts; a distinct satin tone for the brick; and a complementary satin accent color for the doors and window trim. Three coordinated colors, each assigned to a specific surface group, built to give the exterior depth and visual interest rather than uniformity.
At a glance, that's a big job. Underneath that glance, it's a project where the details are what determine whether the result holds up or falls apart. Roughly 53 hours of crew time went into this one, across washing, prep, and three separate paint stages. Below is exactly what that work looked like.
The Before
Before any paint came out, the crew walked the home. That walkthrough matters because it's where you see the full picture of what the job actually requires, not just what the estimate describes.
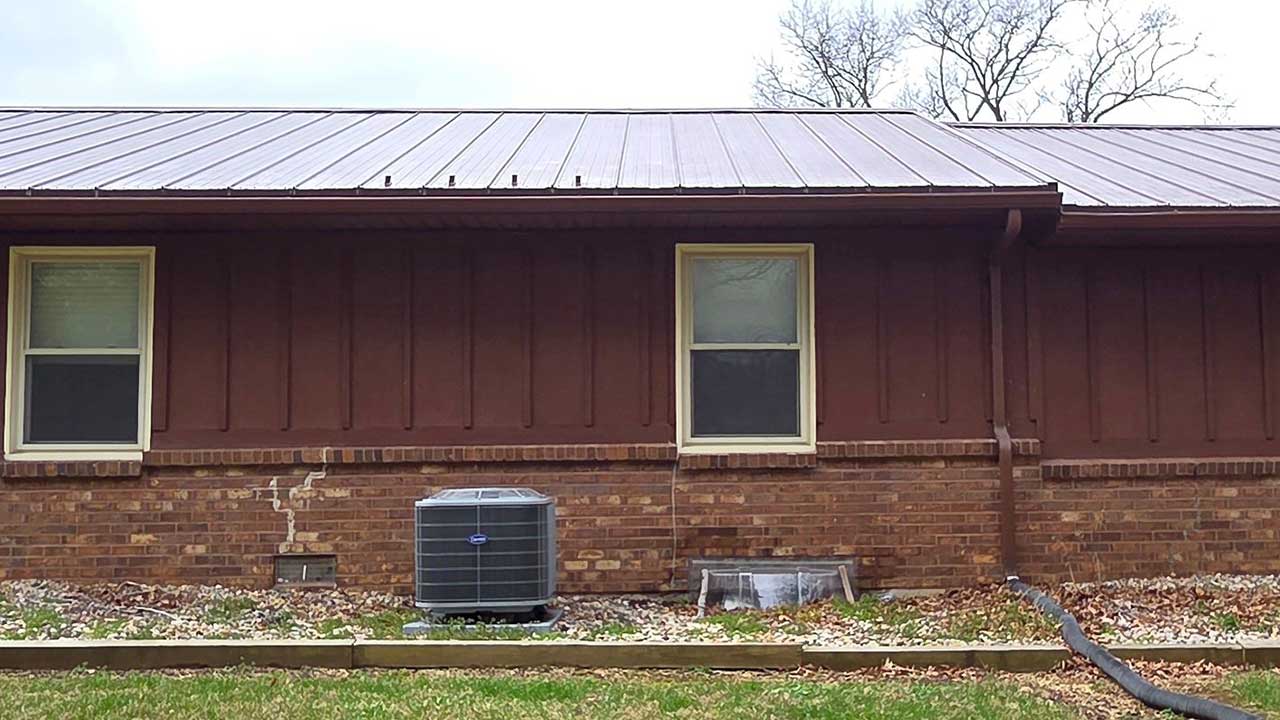
The exterior showed the kind of wear that builds up over time without dramatic incident: chalking across the siding, cobwebs deep in the gutters and corner trim, paint that had reached the end of its useful life. Nothing alarming from the street. Up close, though, it was clear the surfaces weren't going to hold a new coat without real prep work first. Paint applied over chalked or contaminated surfaces doesn't bond correctly. It holds temporarily, then fails.
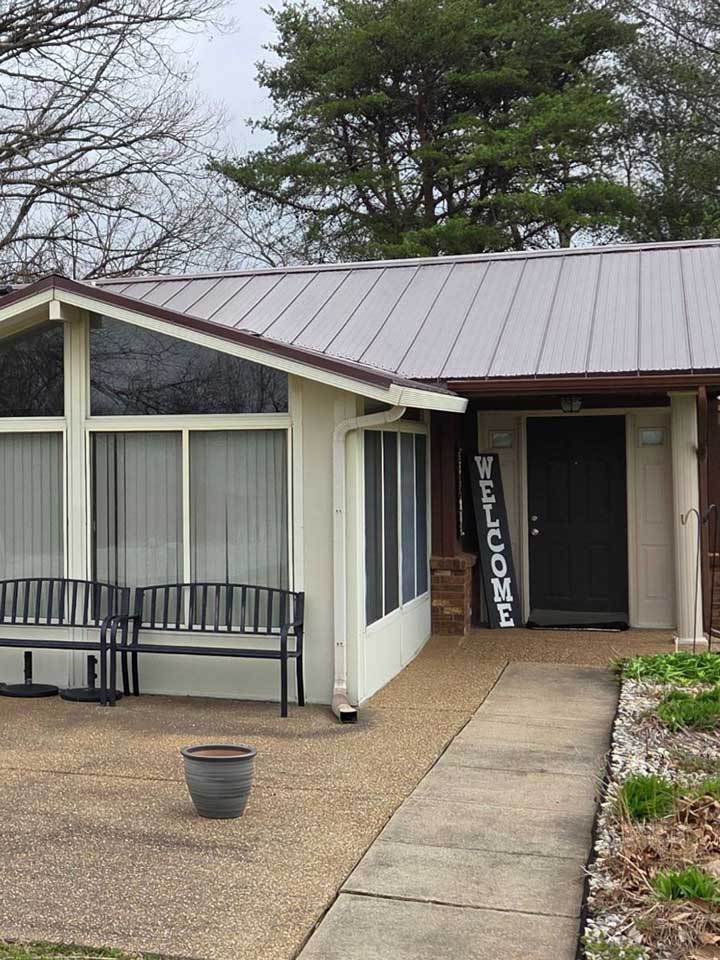
The more significant find came on the brick. A small section had deteriorated to the point where paint alone wouldn't fix it. Covering compromised masonry with paint doesn't restore it. It hides the problem for a season or two, and then the paint fails in exactly that spot, and the homeowner is back to the same conversation, except the damage underneath has gotten worse while it was out of sight. The repair had to happen first, and it had to happen early enough to give the masonry time to cure before the painting sequence reached the brick stage.
The home also came in with a three-color scheme that required clean, intentional transitions between each surface group. Those breaks don't come out right by accident. They require masking done carefully and a painting sequence that accounts for drying and curing time between stages. A crew that doesn't plan that sequence before day one shows it in the final result.
The Problem
A full exterior repaint across multiple surface types, with a three-color scheme and a masonry repair built into the timeline, isn't a project where you can show up and figure it out as you go. Each piece of this job had its own requirements, and those requirements interacted with each other in ways that made the sequencing matter more than the painting itself.
The surface count was the first layer of complexity. Siding, gutters, fascia, soffit, downspouts, brick, garage doors, man doors, front door and sidelights, and window trim don't all prep and paint the same way. What applies to wood trim doesn't apply to brick. What's appropriate for a metal garage door isn't right for a wood soffit. Getting each surface genuinely ready for paint, not just washed and sprayed, means slowing down and making a separate judgment call for each one. A crew that treats every surface the same produces a result that looks the same everywhere: adequate.
The masonry repair introduced a timing constraint that couldn't be ignored. Brick repair done on production day is brick that hasn't cured, which means it won't hold paint correctly. That section had to be repaired during wash day, with enough of a window built into the schedule so it was fully cured and paint-ready when the brick stage arrived. Miss that window and the sequence breaks down. You're either waiting for the repair to cure with the rest of the crew standing by, or you're painting over it before it's ready and calling it close enough.
The three-color scheme meant the painting had to happen in a specific order. Body color first. Brick second, once the repair was confirmed ready. Doors and window trim last, as the detail stage where the most precise work is concentrated. Get the sequence wrong and you're re-masking sections, touching up overspray, or repainting work that should've stayed clean. The color break between the siding and the brick, and between the brick and the accent color on the trim, only looks sharp and intentional if the masking is right and nobody rushes a stage to get to the next one.
On top of all of that, everything on the property that wasn't part of the job had to stay protected: the landscaping, the windows, the roof, the concrete, the fixtures. A job with this much crew time and this many paint stages can leave a mark in a lot of places if nobody is paying attention to what they're working near.
The Solution
Day one started where every quality exterior paint job should: with a full pressure wash of every surface being painted. Siding, brick, gutters, fascia, soffit, downspouts, doors, and trim. Dirt, chalking, and surface contaminants off before any prep work started. Paint doesn't bond to a contaminated surface and stay there. The wash was the foundation everything else was built on.
While the washing was running, the crew handled the brick repair at the same time. Not saved for later. Done on day one so it would have the cure time it needed before the brick painting stage arrived. That sequencing was planned before anyone showed up, not decided on the fly.
Production day opened with a walk of the full exterior before any tape went up. Color placements confirmed: which surfaces got the body color, where the brick tone started and stopped, where the accent color landed on the doors and trim. The roof was confirmed off-limits and stayed that way through every stage. Before photos were taken so there was a clear record of the starting point.
Prep followed the walk. Scraping loose paint, sanding rough spots, spot-priming bare wood, and caulking gaps, only where gaps existed and actually needed it. Prep padded out to look more thorough than it is doesn't produce a better result. It produces a longer job. This job's prep was matched to what the home required, and nothing beyond that.
Masking was planned around the color sequence before anything was opened. Glass, the roof, concrete, landscaping, and fixtures were protected first. Then the boundaries between each color group were masked so the body color, the brick tone, and the accent color each had a clean break from the others. Three colors on one home means three transitions where things can go wrong. Masking done well is how you prevent that.
Painting moved in order: main body group first, brick second once the repair was confirmed cured and ready, then doors and window trim last as the detail stage. Each group got its first coat, time to dry, then its second coat. Each section was fully inspected before the crew moved on to the next one. Not a quick look. An actual check for even coverage, no thin spots, no overspray on surfaces that weren't part of that stage. The inspection happened before the masking came down so anything that needed correcting could be handled while everything was still in place.
Before the job was called done, the crew walked the entire exterior one more time. Right color on every surface. Even coverage throughout. Clean color breaks at every transition. No overspray on the windows, the roof, the concrete, or the fixtures. After photos taken. The call that a job is finished has to mean something.

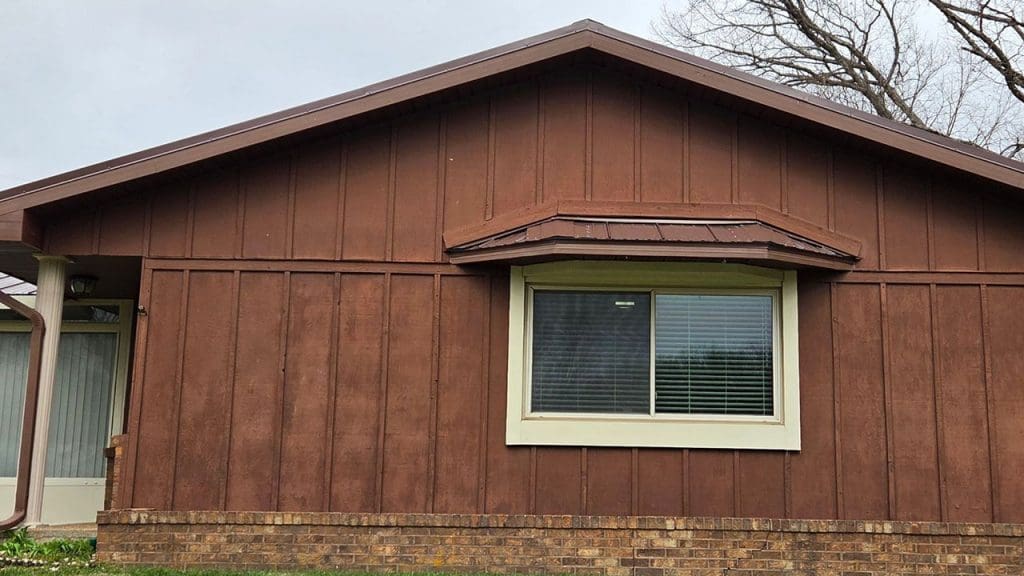
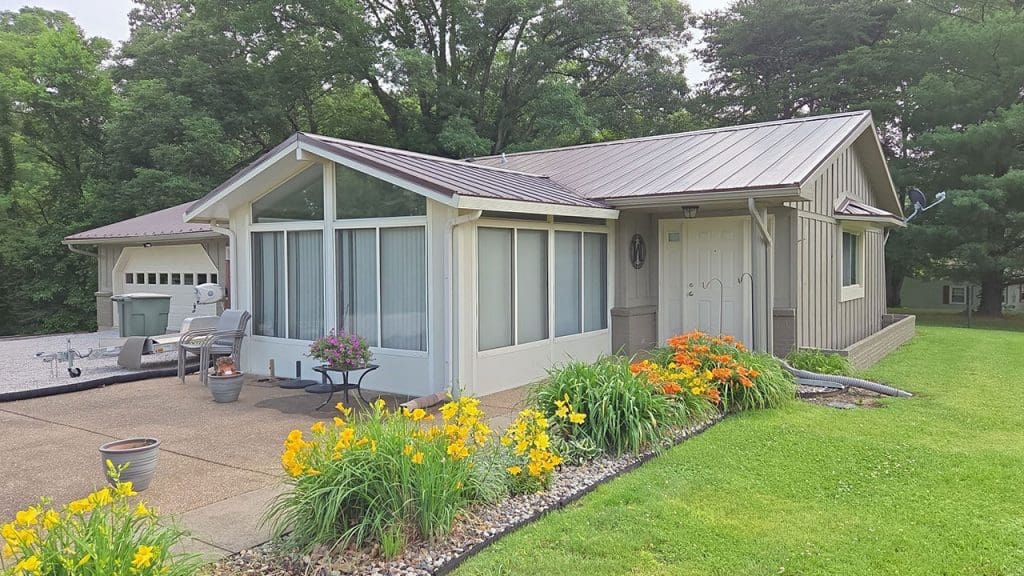
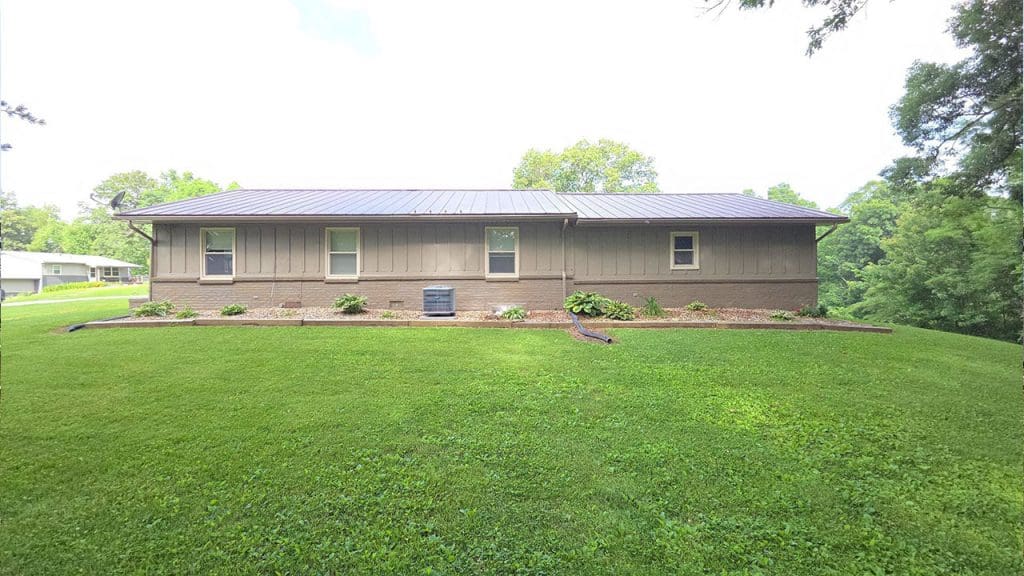
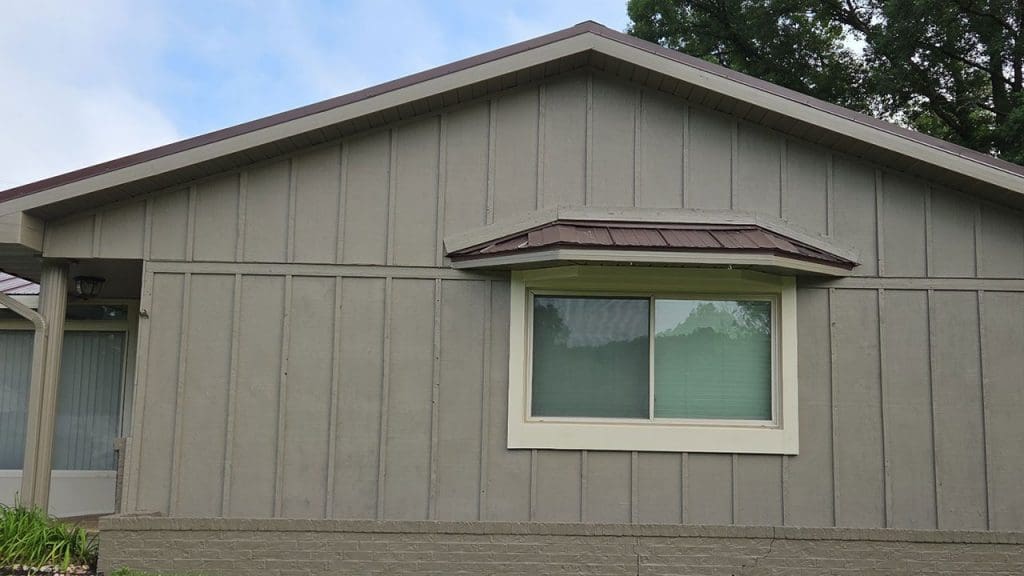
Before & After
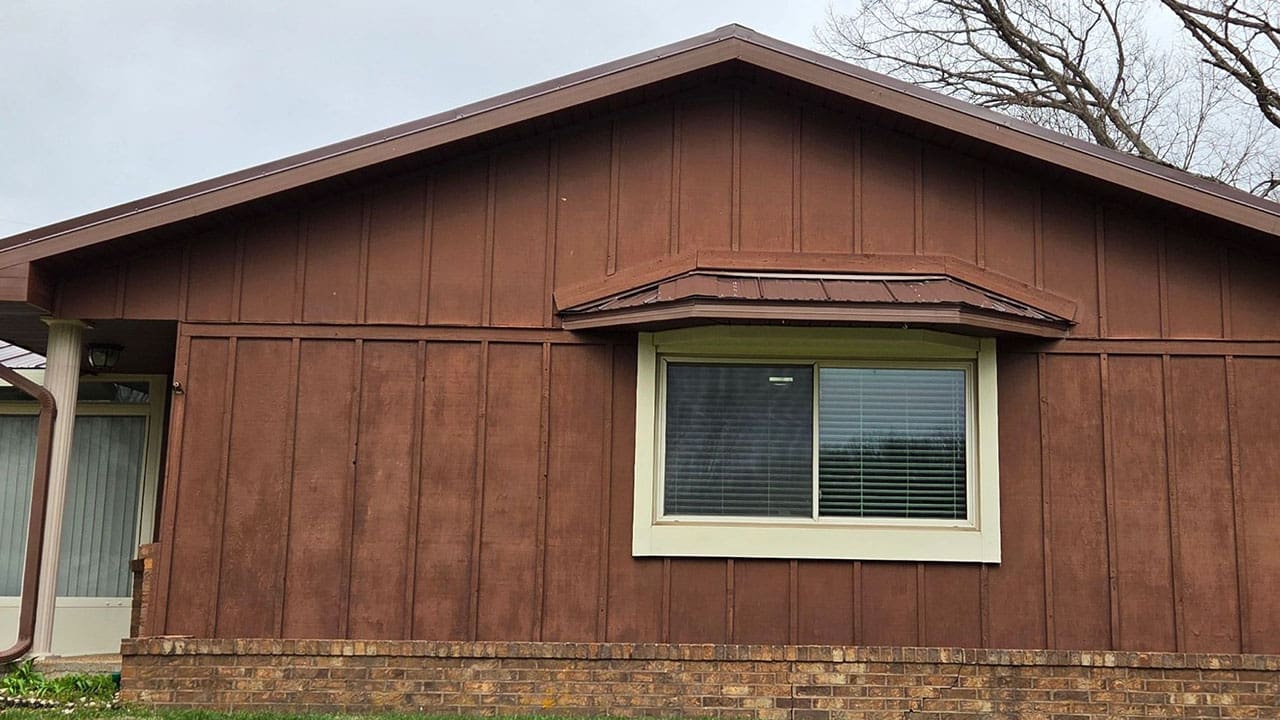
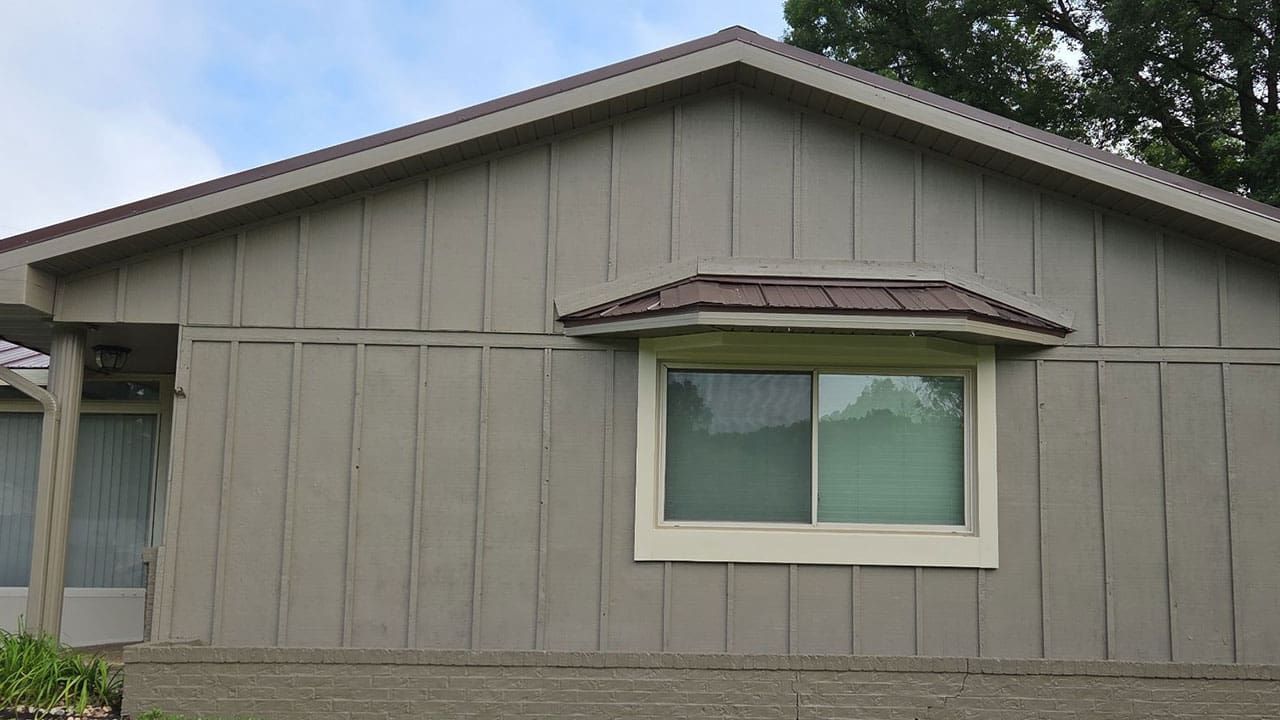
The After
Mark's home came out of this project looking like a house that was thought about, not just painted.
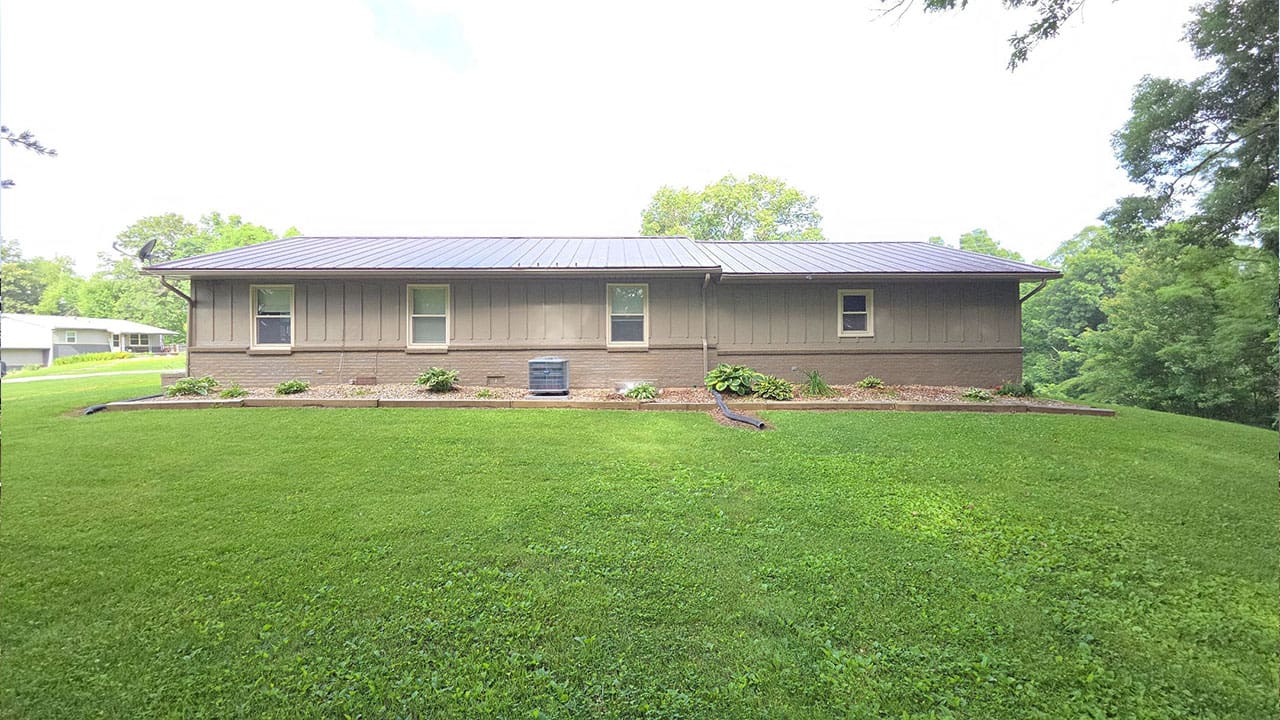
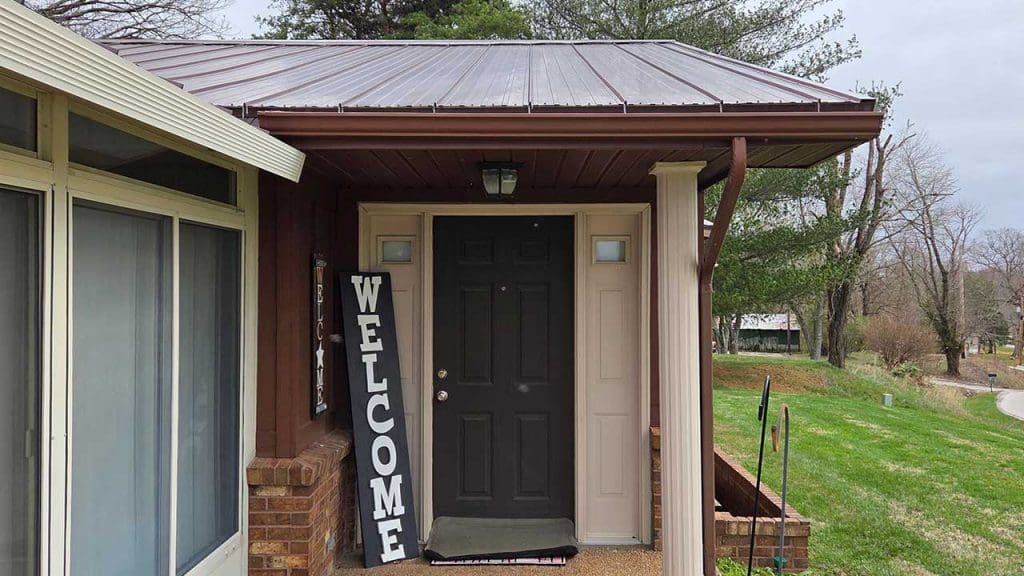
The body color pulls the siding, gutters, fascia, soffit, and downspouts into a unified base that reads clean and intentional from the street. The brick carries its own distinct tone, complementary to the body color without competing with it, and the section that needed repair blends into the wall as if the deterioration was never there. The doors and window trim carry the accent color that gives the front of the home a focal point and pulls the whole three-color scheme together into something that looks considered rather than assembled.
Every surface that was part of the job was finished. Every surface that wasn't was left exactly as it was found. The landscaping, the windows, the roof, the concrete, the fixtures: untouched through every stage. That's not a given on a project with this many surface groups and this much crew time. It's the result of a plan that accounted for those surfaces from the first day and held to it through the last.
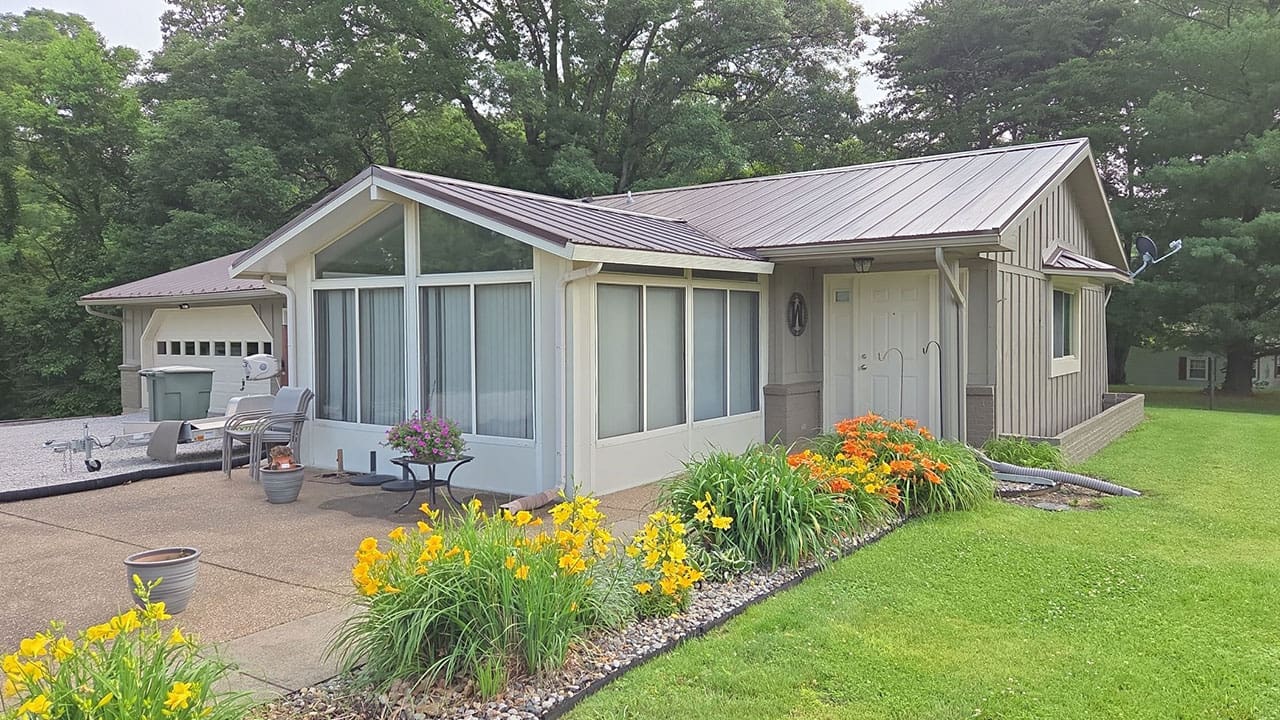
This is what exterior painting in Oakland City, Indiana looks like when a crew is thinking past getting to the next job. The masonry repair was caught before it became a failure under fresh paint. The color breaks are clean at every transition. The prep was matched to what the home needed, not padded out. And the work was checked at every stage before anyone moved on.
If your home's exterior needs this kind of attention, call (618) 617-6946 or contact us today for your free quote.