Ceiling and Crown Molding Painting: What's Involved and Why It's Harder Than It Looks
Ceilings get skipped. Or rushed. They're the surface most painters treat as an afterthought — roll it fast, don't drip on the floor, move on. The problem is that a ceiling is one of the first things your eye goes to when you walk into a room, especially when the light is on. Any variation in sheen, any lap mark, any place where the crown wasn't cut in cleanly — it shows.
Ceiling painting involves more than most people expect. The surface prep determines everything. Existing texture has to be assessed — if it's damaged, cracked at the joints, or inconsistent, no amount of fresh paint will fix it. Those issues need to be addressed before a roller touches the surface. On older homes especially, you'll often find joint tape that's bubbled, small cracks along seams, or areas where a previous painter applied too much texture in one spot and too little in another.
After prep is done, the cutting-in phase starts. Every edge where the ceiling meets the wall — or where the ceiling meets the crown molding if there is any — has to be cut by hand with a brush before rolling. That line has to be straight. It has to hold. If the cutting-in is sloppy, the finished ceiling looks sloppy, regardless of how good the rolling is.


CEILING AND CROWN MOLDING RESULTS THAT LAST — AND THAT YOU'LL ACTUALLY NOTICE
Ceiling painting looks simple. Roll it white, move on. The reality is that ceilings expose every shortcut — uneven sheen, lap marks, texture that doesn't match, crown lines that wander. A ceiling done properly is one you stop thinking about. A ceiling done poorly is one you can't stop seeing.
At Dillinger Painting, ceiling and crown molding work follows a structured process built around surface prep first, finish second. That means assessing the existing texture for damage or inconsistency before anything is applied. It means addressing cracks at ceiling joints, resetting nail pops, and blocking water stains with shellac-based primer so they don't bleed back through. It means cutting in every edge — ceiling to wall, crown to ceiling, crown to wall — with a brush and real patience before rolling begins.
Crown molding adds its own layer of complexity. The intersections where crown meets ceiling and where it meets the wall below are the most detail-sensitive spots in any interior paint project. If previous caulk lines have cracked or shrunk away from the surface, those get re-caulked and cured before paint goes on. If the molding profile has buildup from years of repaints, that gets cleaned up so the finished coat reads crisply. The result is a crown that looks defined and intentional — not soft and overworked.
Ceiling & Crown Molding Painting FAQs
Not in every situation, but two coats are standard more often than not. If the existing ceiling is in good shape and you're refreshing with the same color using a quality product, a single well-applied coat can hold up. If the color is changing, if there are patchy areas from previous repairs, or if the surface has any kind of staining, two coats are the right call. The surface gets evaluated during the estimate so you know what's actually needed before work starts.
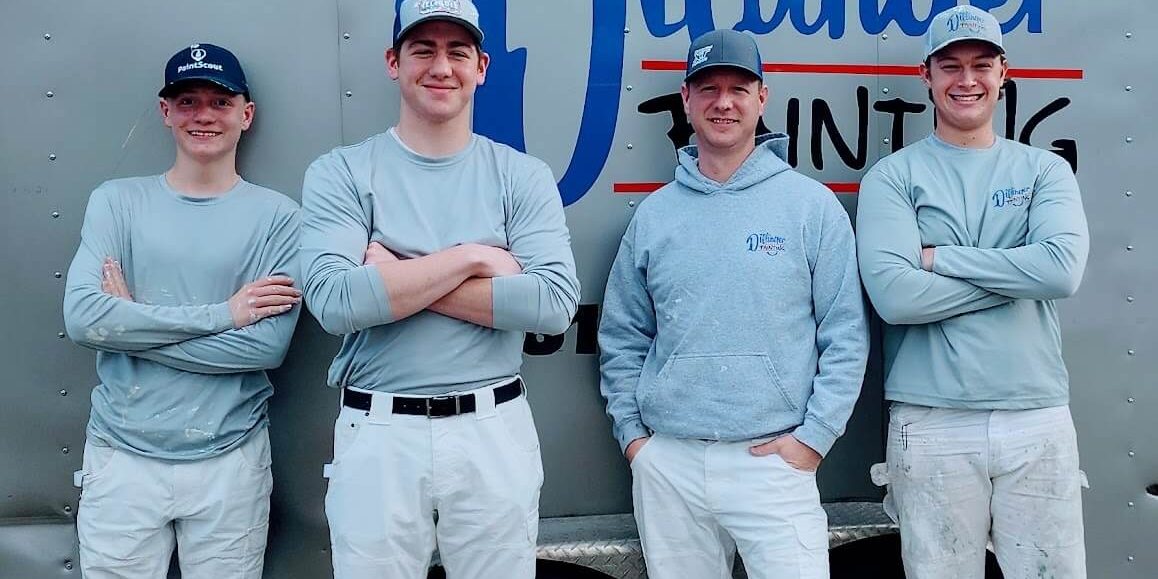
Why Choose Us? More Than Paint—It’s About People, Trust, and Excellence
At Dillinger Painting, we believe a great paint job is only part of the story. What truly sets us apart is how we serve. From the first conversation to the final walkthrough, we’re committed to making your experience smooth, respectful, and deeply personal.
We treat your home like it’s our own—because to us, painting isn’t just about color on walls. It’s about creating comfort, protecting what matters, and building lasting relationships rooted in integrity, transparency, and care.
Our mission is simple: to deliver exceptional results and exceptional experiences. That means showing up on time, doing what we say, respecting your space, and finishing every project with craftsmanship you can count on—and people you’re glad to have in your home.

Ready to Refresh Your Home? Schedule Your Free Painting Estimate Today!
Take the first step toward transforming your home with Dillinger Painting’s trusted, professional services. Contact us today for your complimentary consultation and no-obligation estimate. Experience firsthand why homeowners across Evansville, Vincennes, and the entire Tri-State region choose Dillinger Painting for all their home painting and refinishing needs.